Part 3: Laying Asphalt Shingles & Starter Course – DIY Roof Installation
Now that the plywood and underlayment are installed, we move on to laying the asphalt shingles. This part covers the starter course, cutting shingles, and installing the first few rows.
Preparing the Starter Course
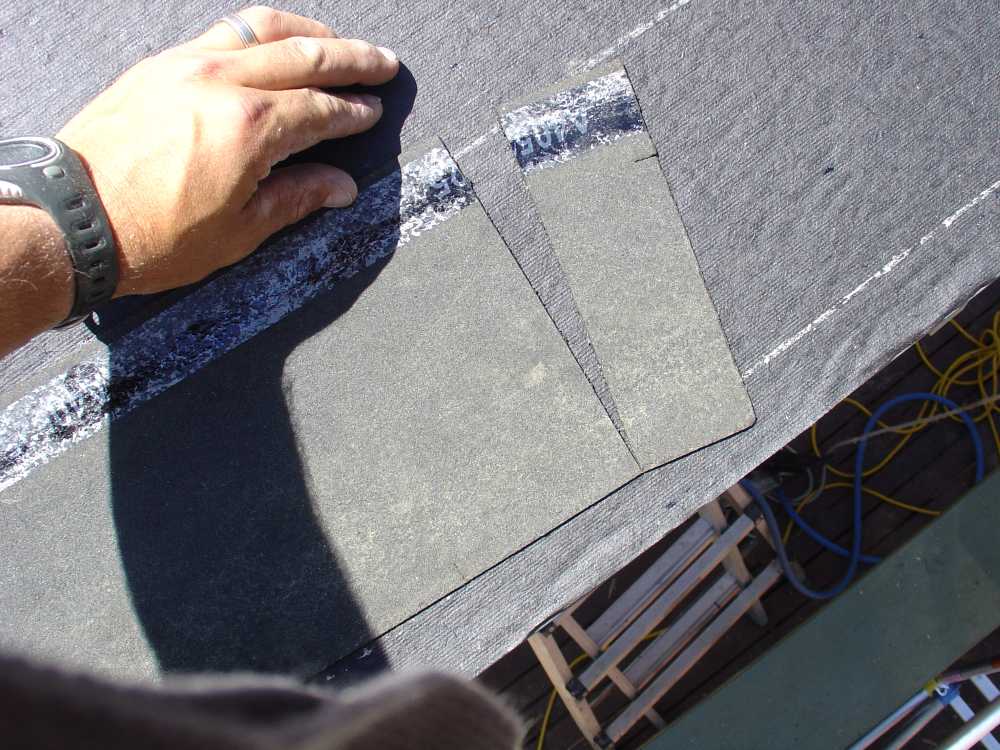
Cut 90mm off the first piece of the starter course. This prevents the cutouts from aligning with the starter and first course of shingles.
Installing the Starter Course
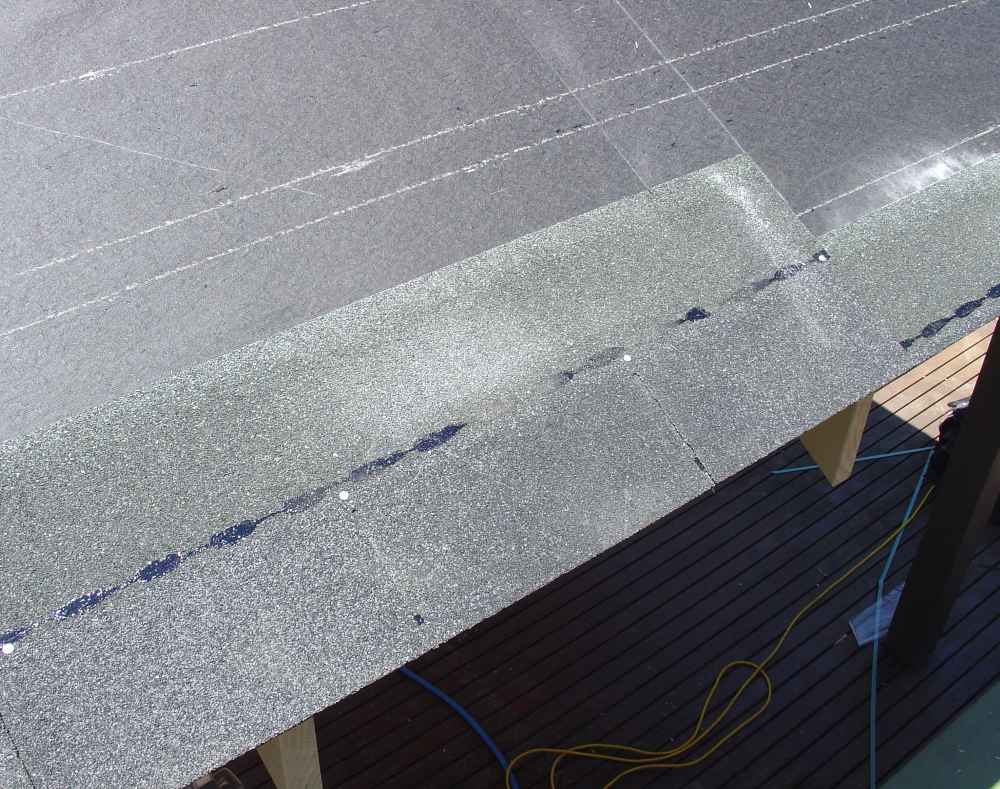
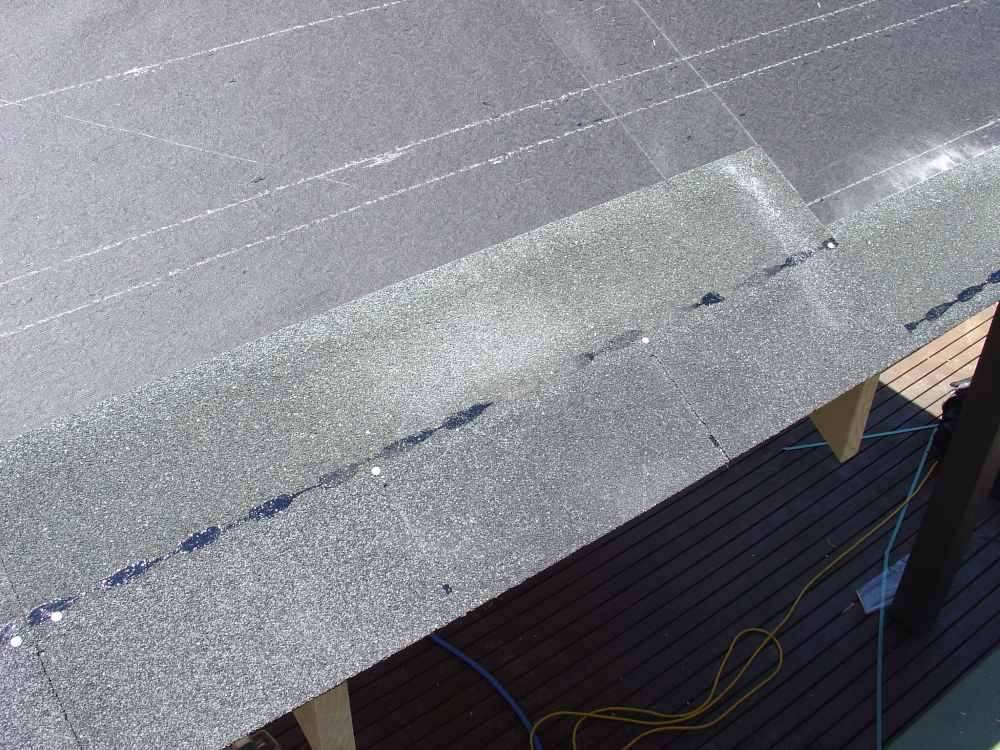
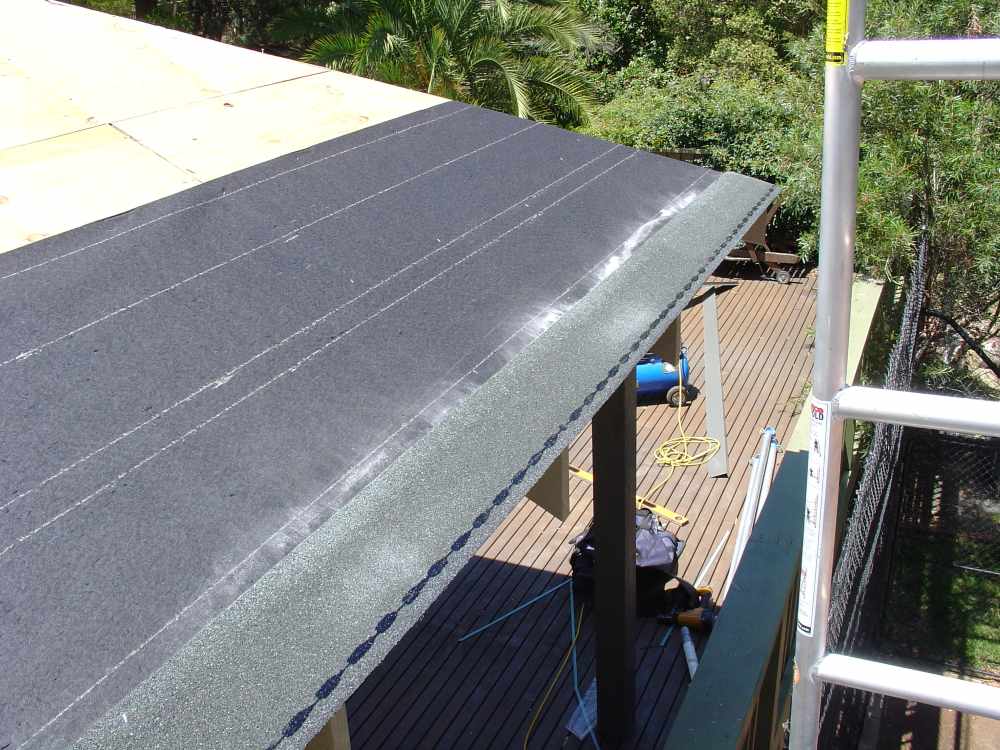
Align the first piece of starter course just past the hip line, making sure it follows the chalk line. The adhesive strip should be on the bottom edge. Secure the top edge with two nails.
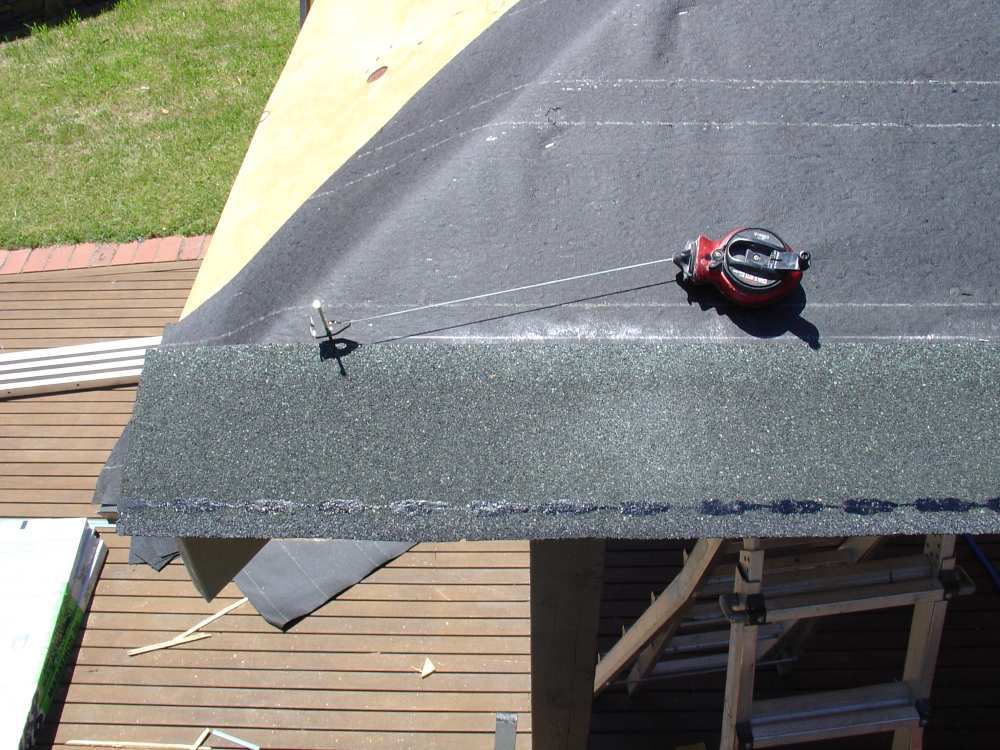
When nailing the starter course, follow your chalk line and butt the pieces close together.
Marking Vertical Chalk Lines
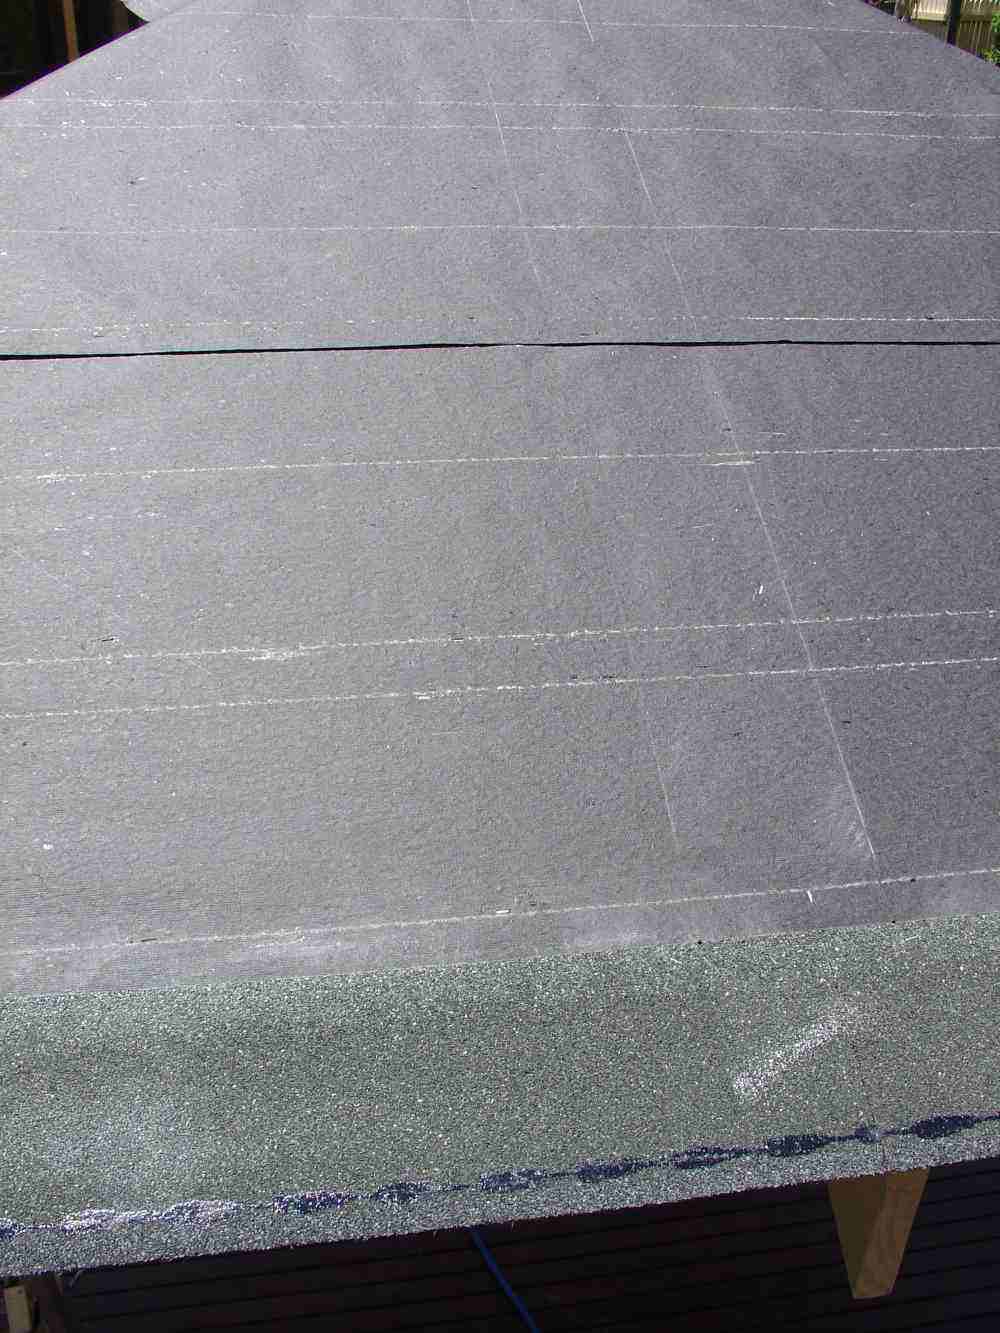
Find the joint in the starter course near the middle of the roof. Hammer two nails 165mm apart on either side of the cutout. Snap vertical chalk lines to keep your shingles aligned.
Installing the First Course of Shingles
Line up the first course of shingles with the starter course. Use the cutouts on the side of the shingles as a guide, but always double-check with your chalk lines for accuracy.