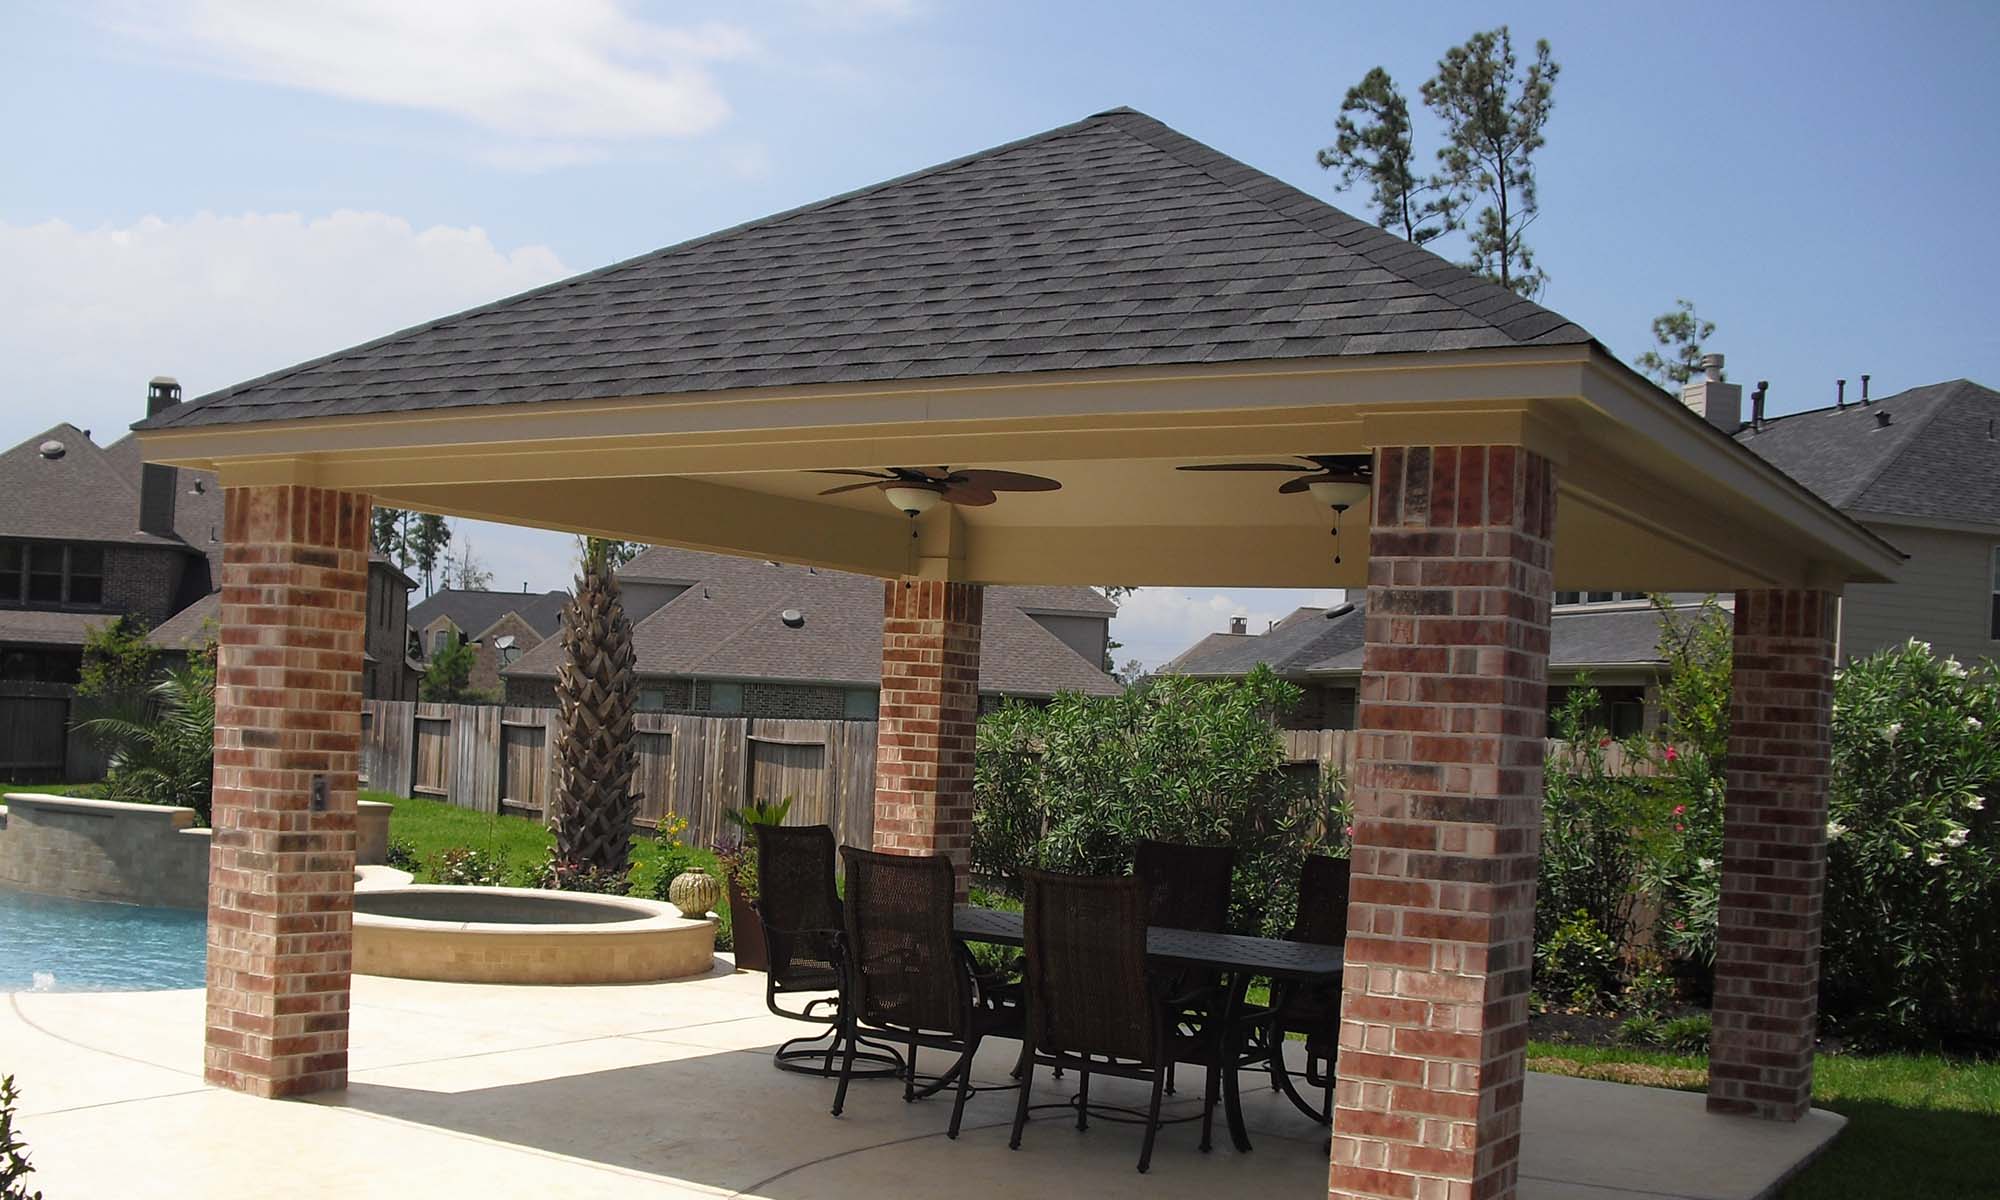
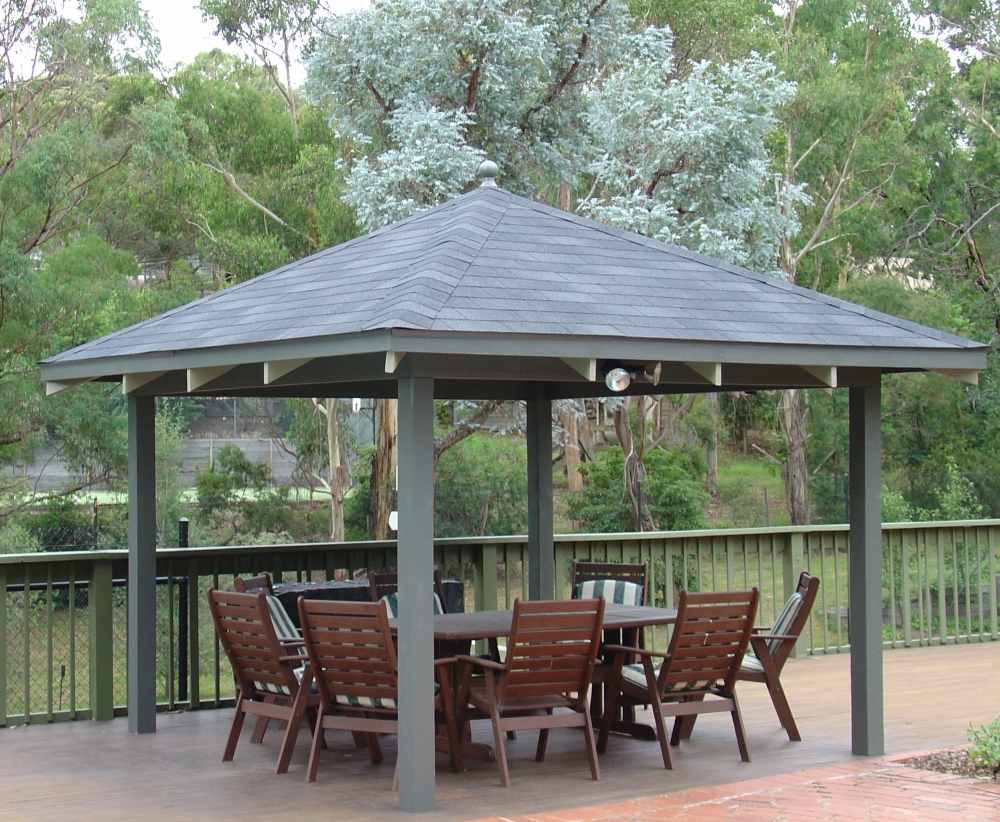
Part 4: Finishing, Hips, Ridge & Final Details – DIY Roof Installation
You’re in the home stretch! This final part covers installing the hips and ridge, finishing touches, and important maintenance tips to ensure your roof lasts for decades.
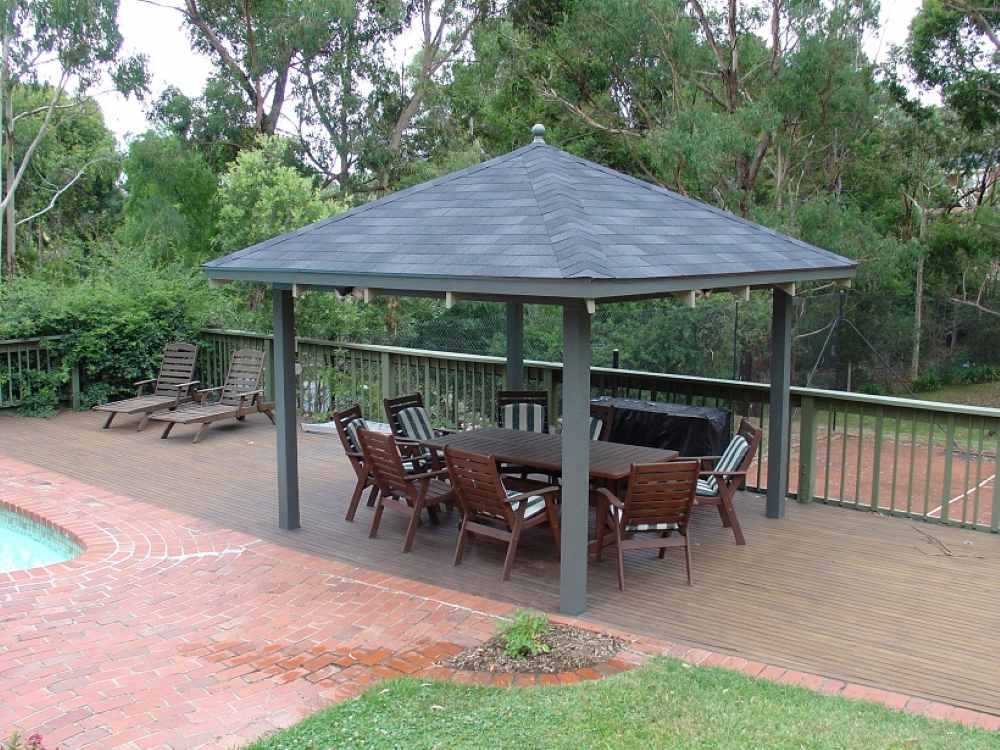
Installing Hip & Ridge Capping
Cut the capping pieces from the main 3-tab shingles. Each bundle gives you 63 capping pieces, covering approximately 8.8 lineal metres of hips or ridge.
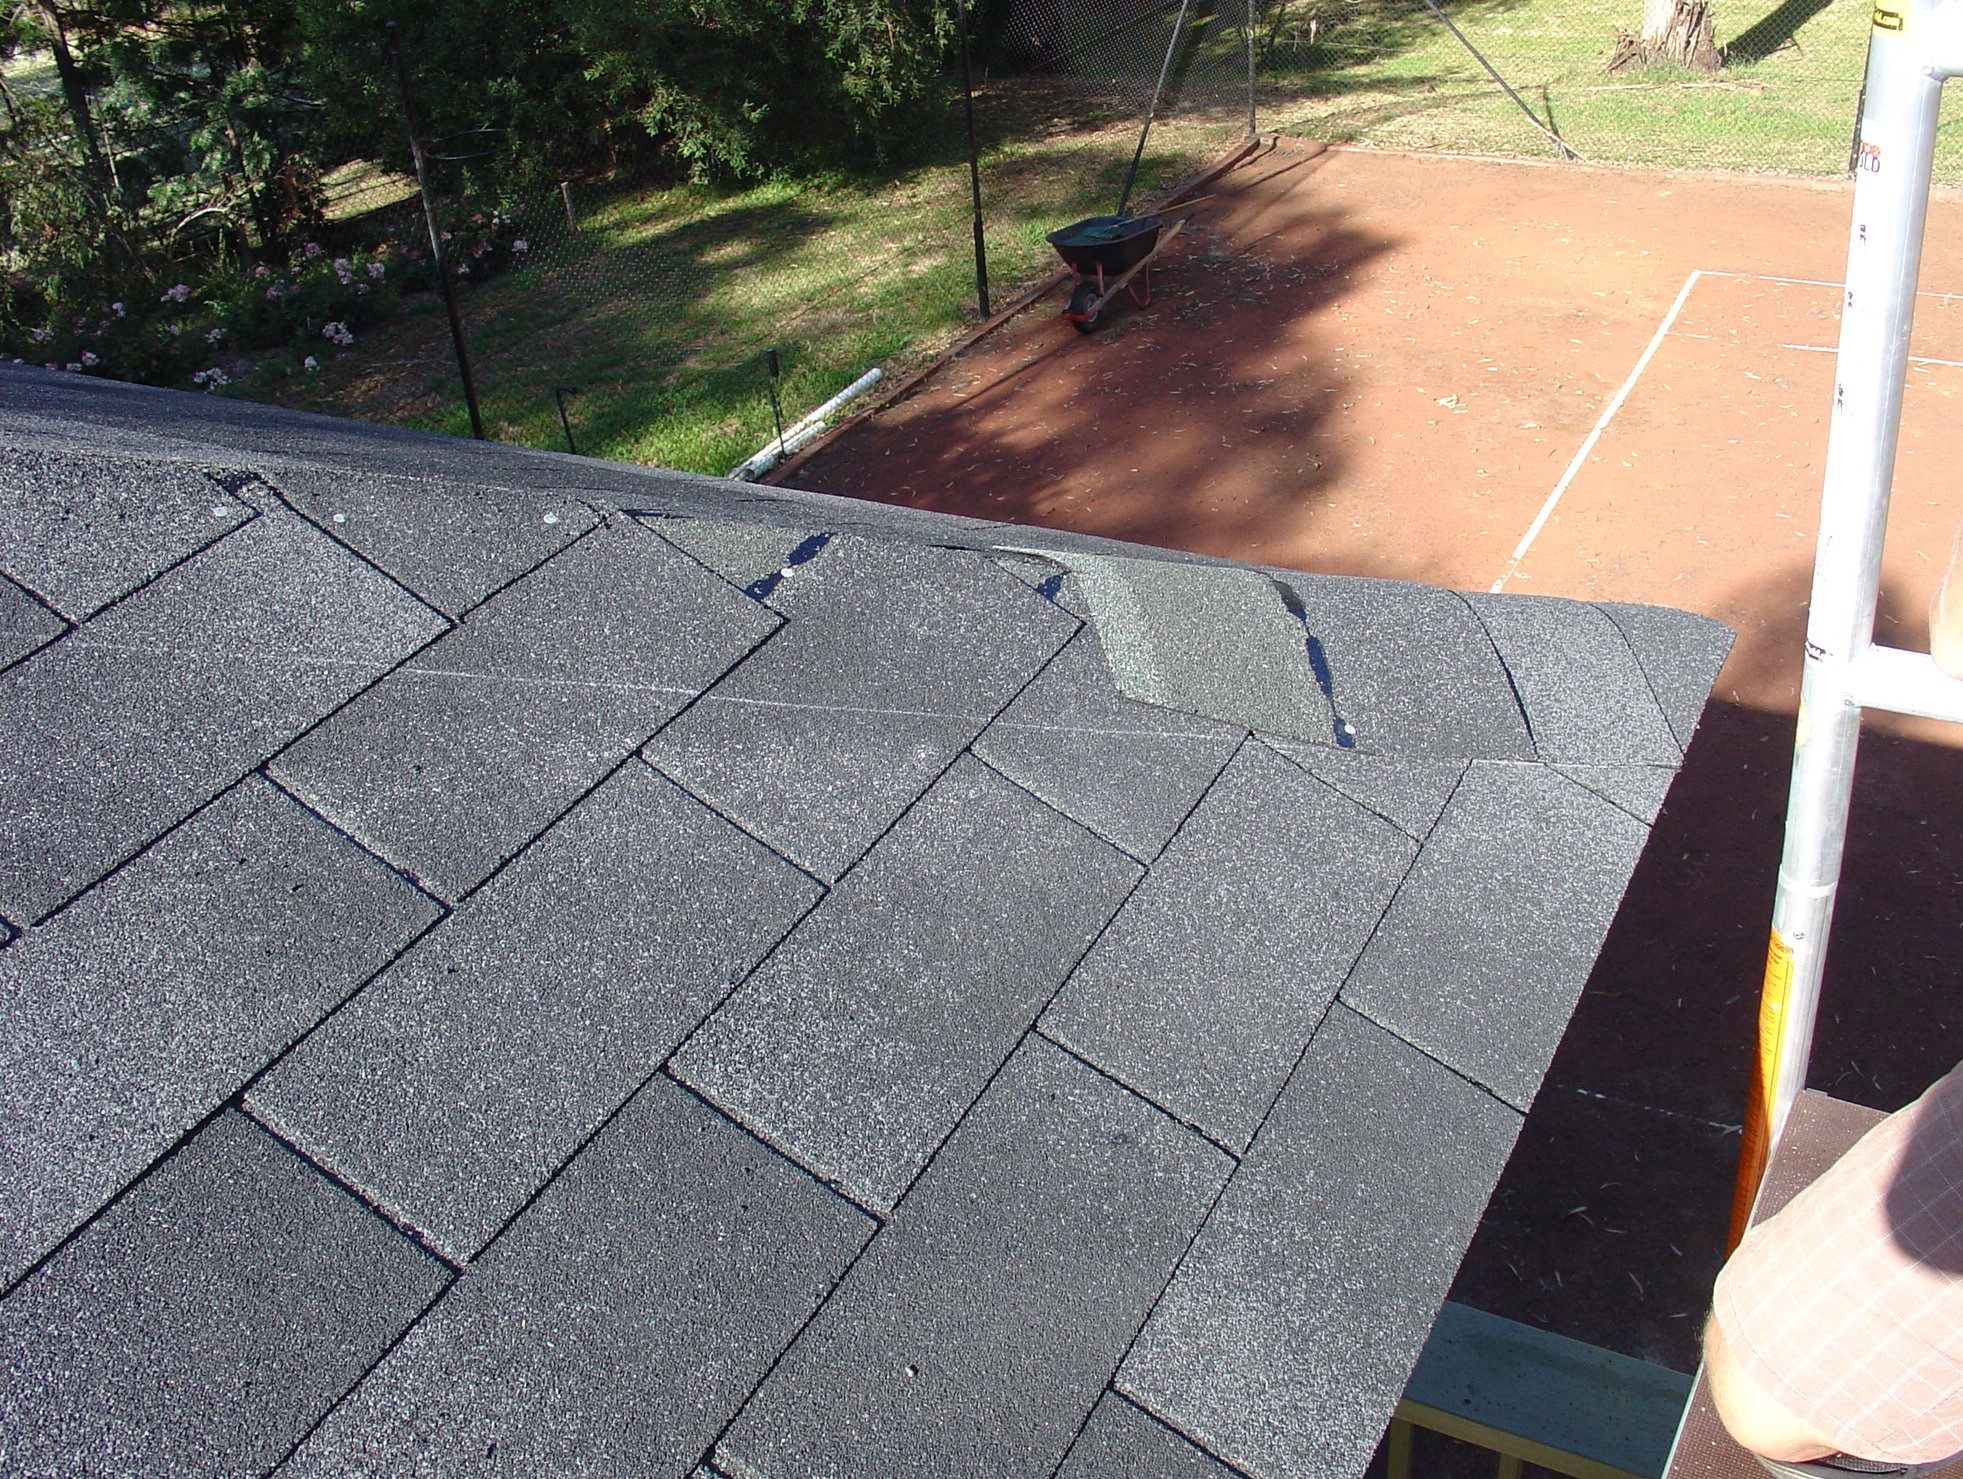
Cutting and Installing Hip Capping
Snap a chalk line 160mm from the centre of the hip. Install the capping pieces, overlapping them neatly. Use longer nails when going through multiple layers.
Ridge Capping
Follow the same method for the ridge. Ensure all capping pieces are securely nailed and neatly aligned for a professional finish.
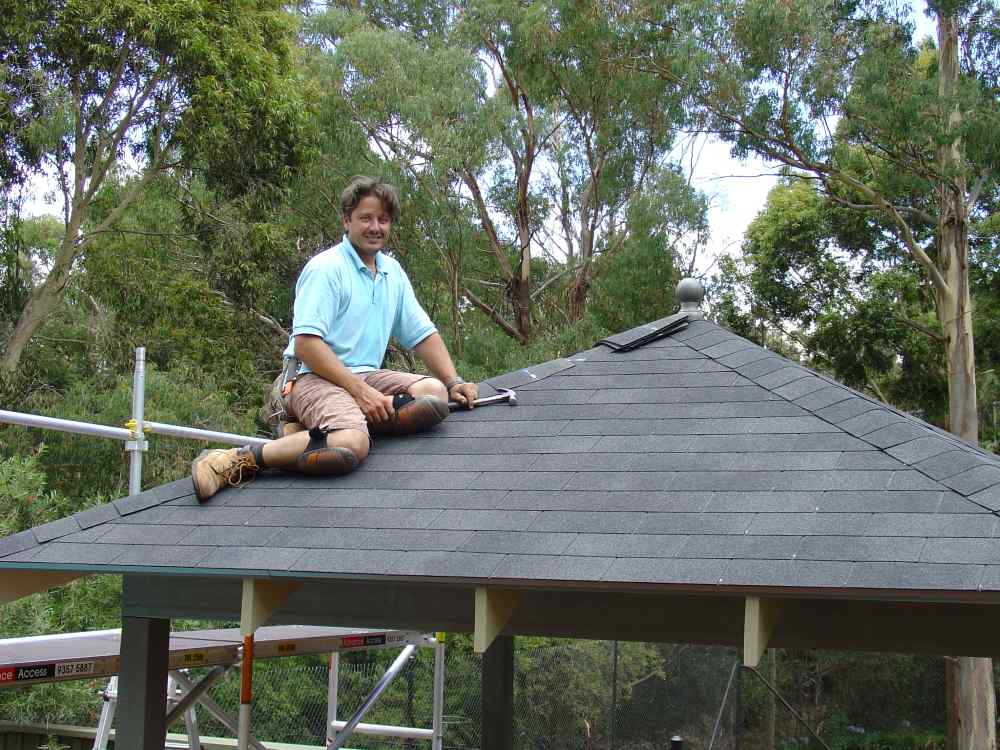
Final Finishing Touches
Clean the roof of any debris, check all nails are properly seated, and apply sealant where necessary. Your new roof is now complete!
Congratulations! You have successfully installed a professional-quality asphalt shingle roof.
Maintenance Tip: Inspect your roof annually and after major storms. Remove debris and check for any loose shingles.
Thank you for following our complete DIY Roof Installation Guide. If you have any questions during your build, feel free to contact us.