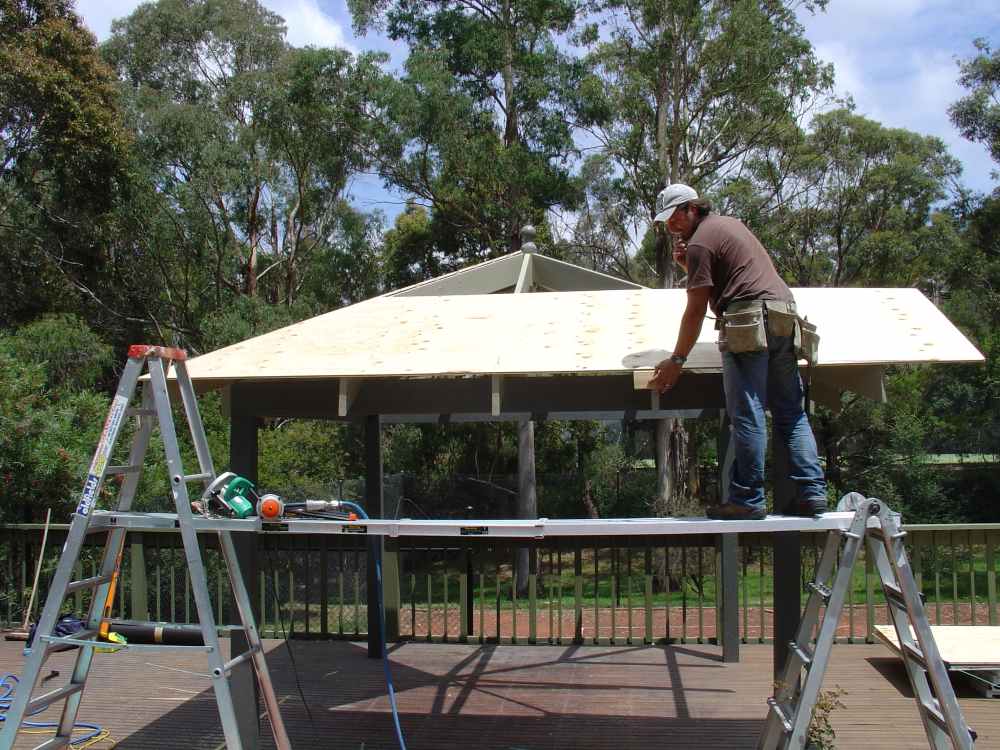
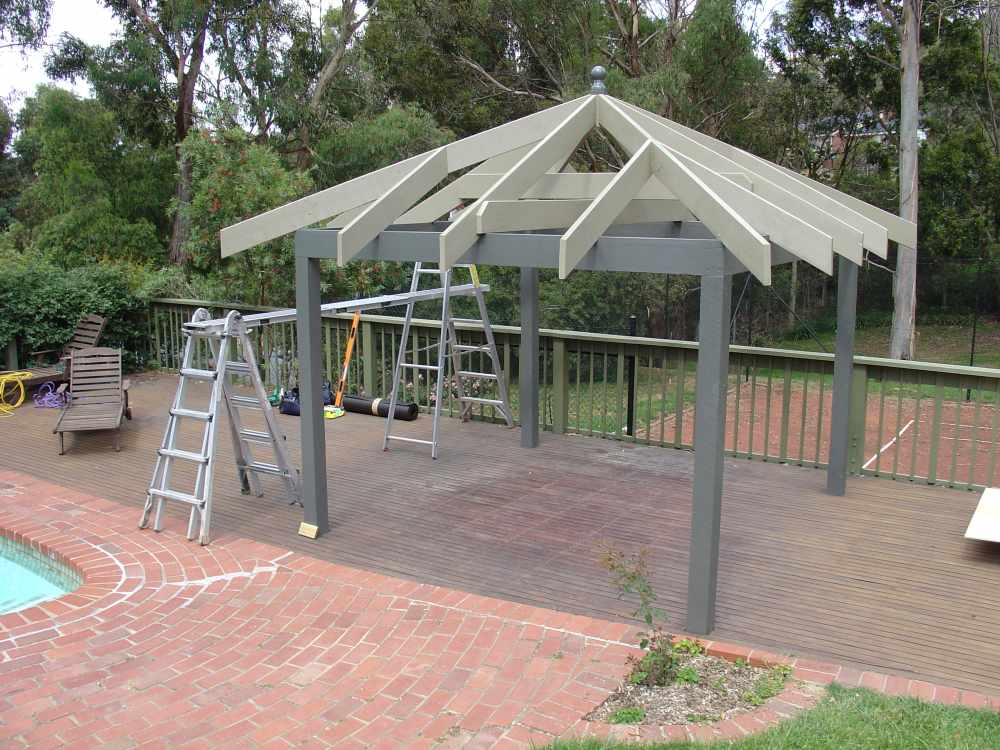
Part 1: Planning & Preparation – DIY Gazebo Roof Installation
A do-it-yourself roof installation using asphalt shingles is a rewarding project that can save you thousands of dollars. With proper planning, everyday Australians are achieving professional-looking results on gazebos, sheds, pergolas, carports, and patios.
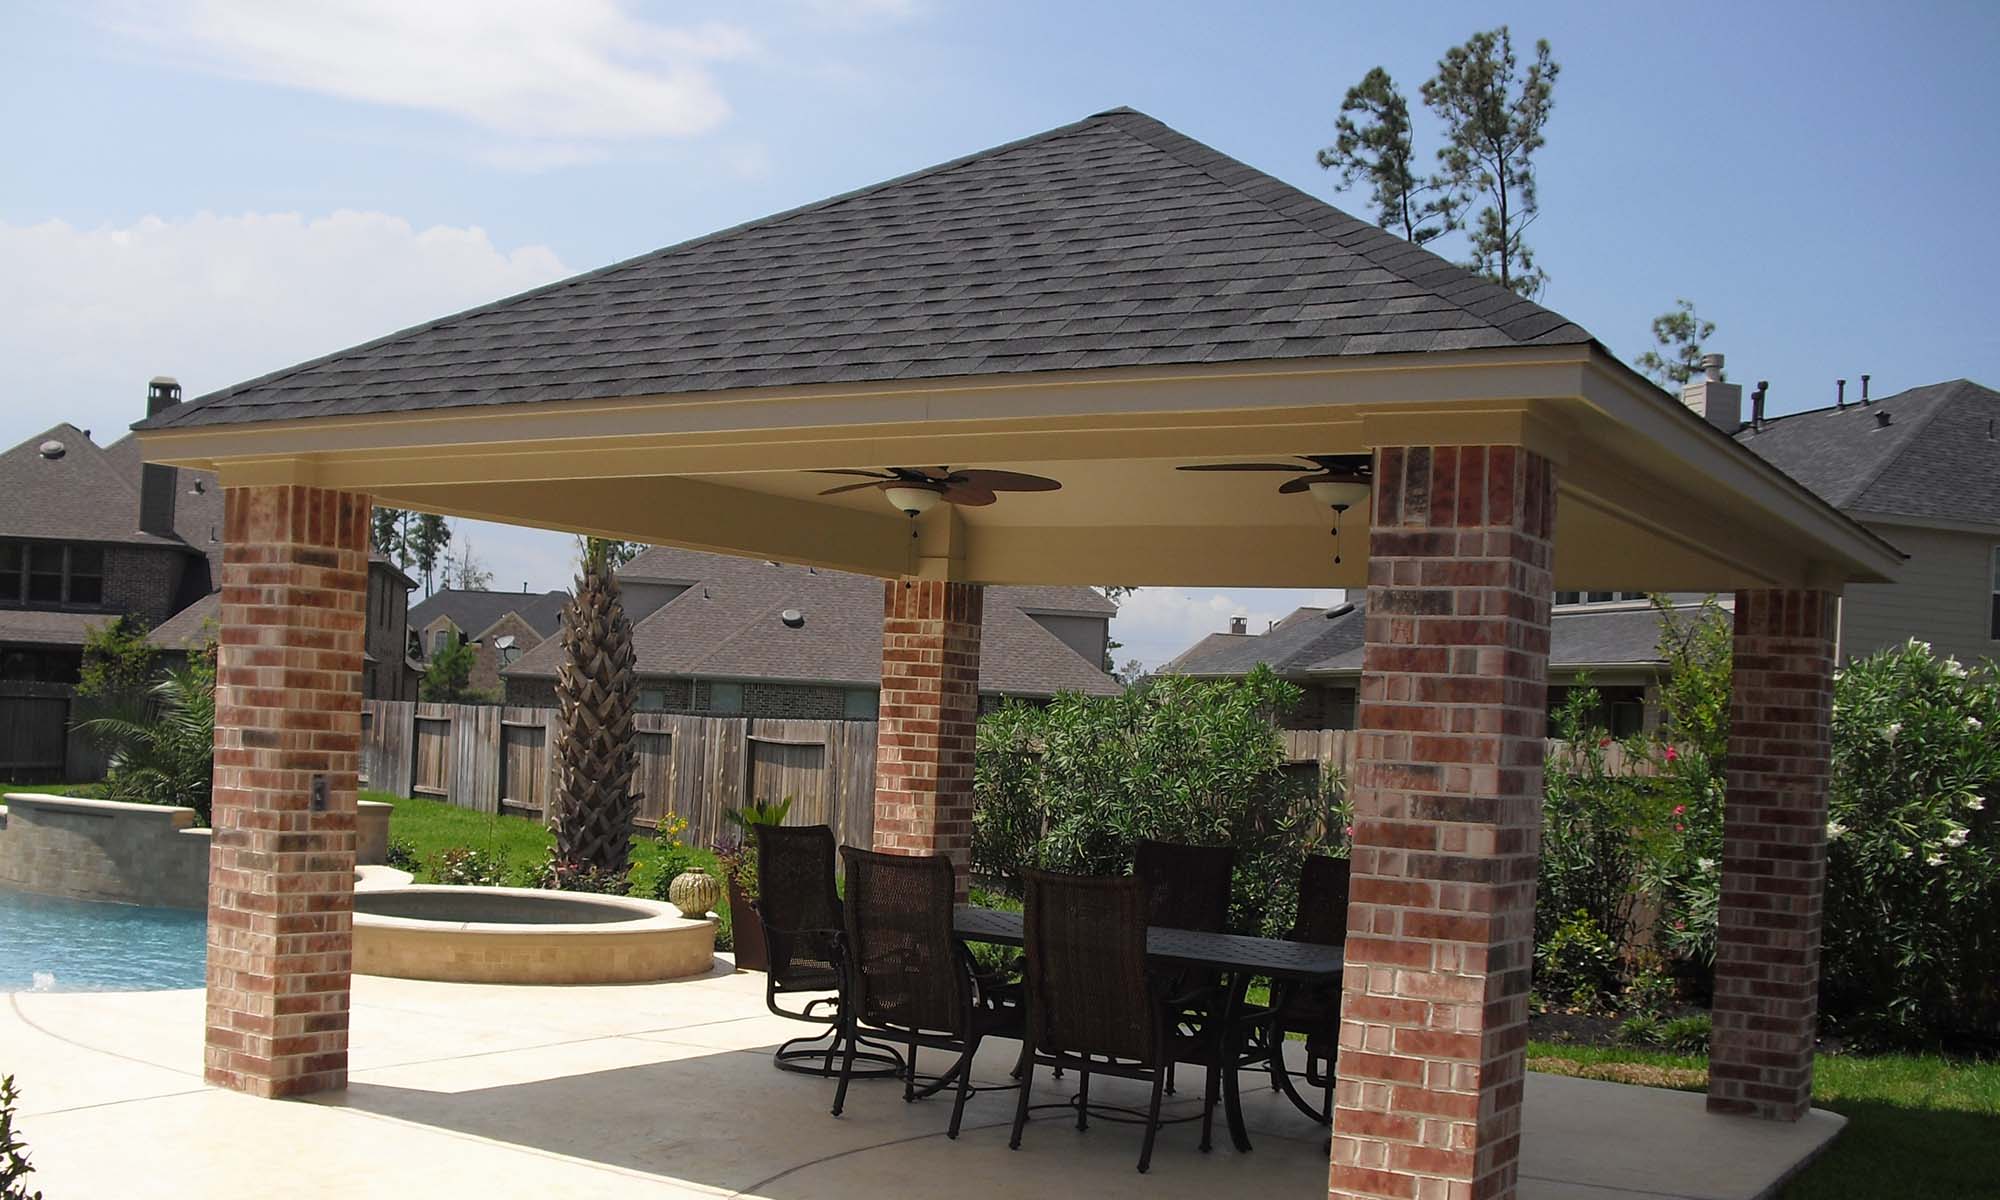
Asphalt shingles are lightweight, quick to install, cost-effective, and come with a 30–40 year manufacturer’s warranty — with virtually zero maintenance once installed.
Step-by-Step Installation Guide Overview
This 4-part guide takes you through the entire process — from planning to the finishing touches. You can use the same techniques for gazebos, sheds, pergolas, carports, and covered patios.
Calculations & Measurements
Accurate measurements are essential for ordering the correct materials.
Asphalt shingles typically come in bundles of 21 pieces and cover approximately 3m².
Calculate the total roof area
- Calculate the total length around the bottom edge
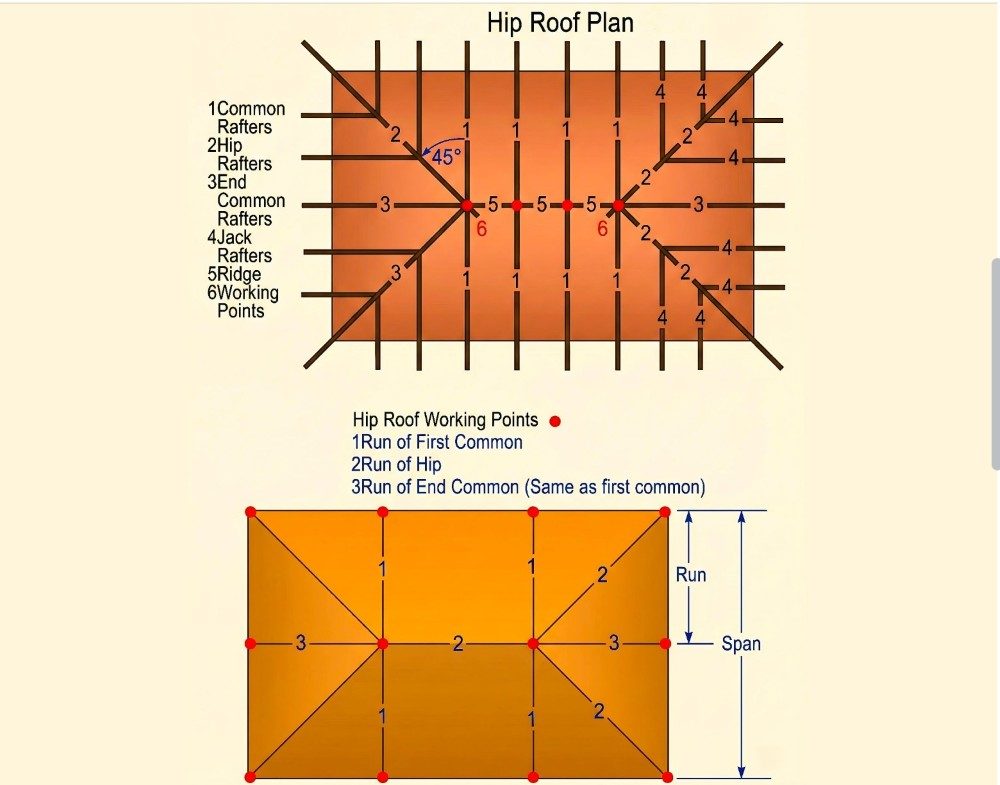
- Measure the combined length of all hips and ridges
Tools Needed for Your DIY Roof Project
- Hammer
- Hook blade knife
- Chalk line
- Spirit level
- Circular saw
- Tin snips
- Measuring tape
- Galvanised clout nails
Safety First
Always work on a stable platform, wear soft rubber-soled shoes, keep the roof clean, and never work on a wet surface.