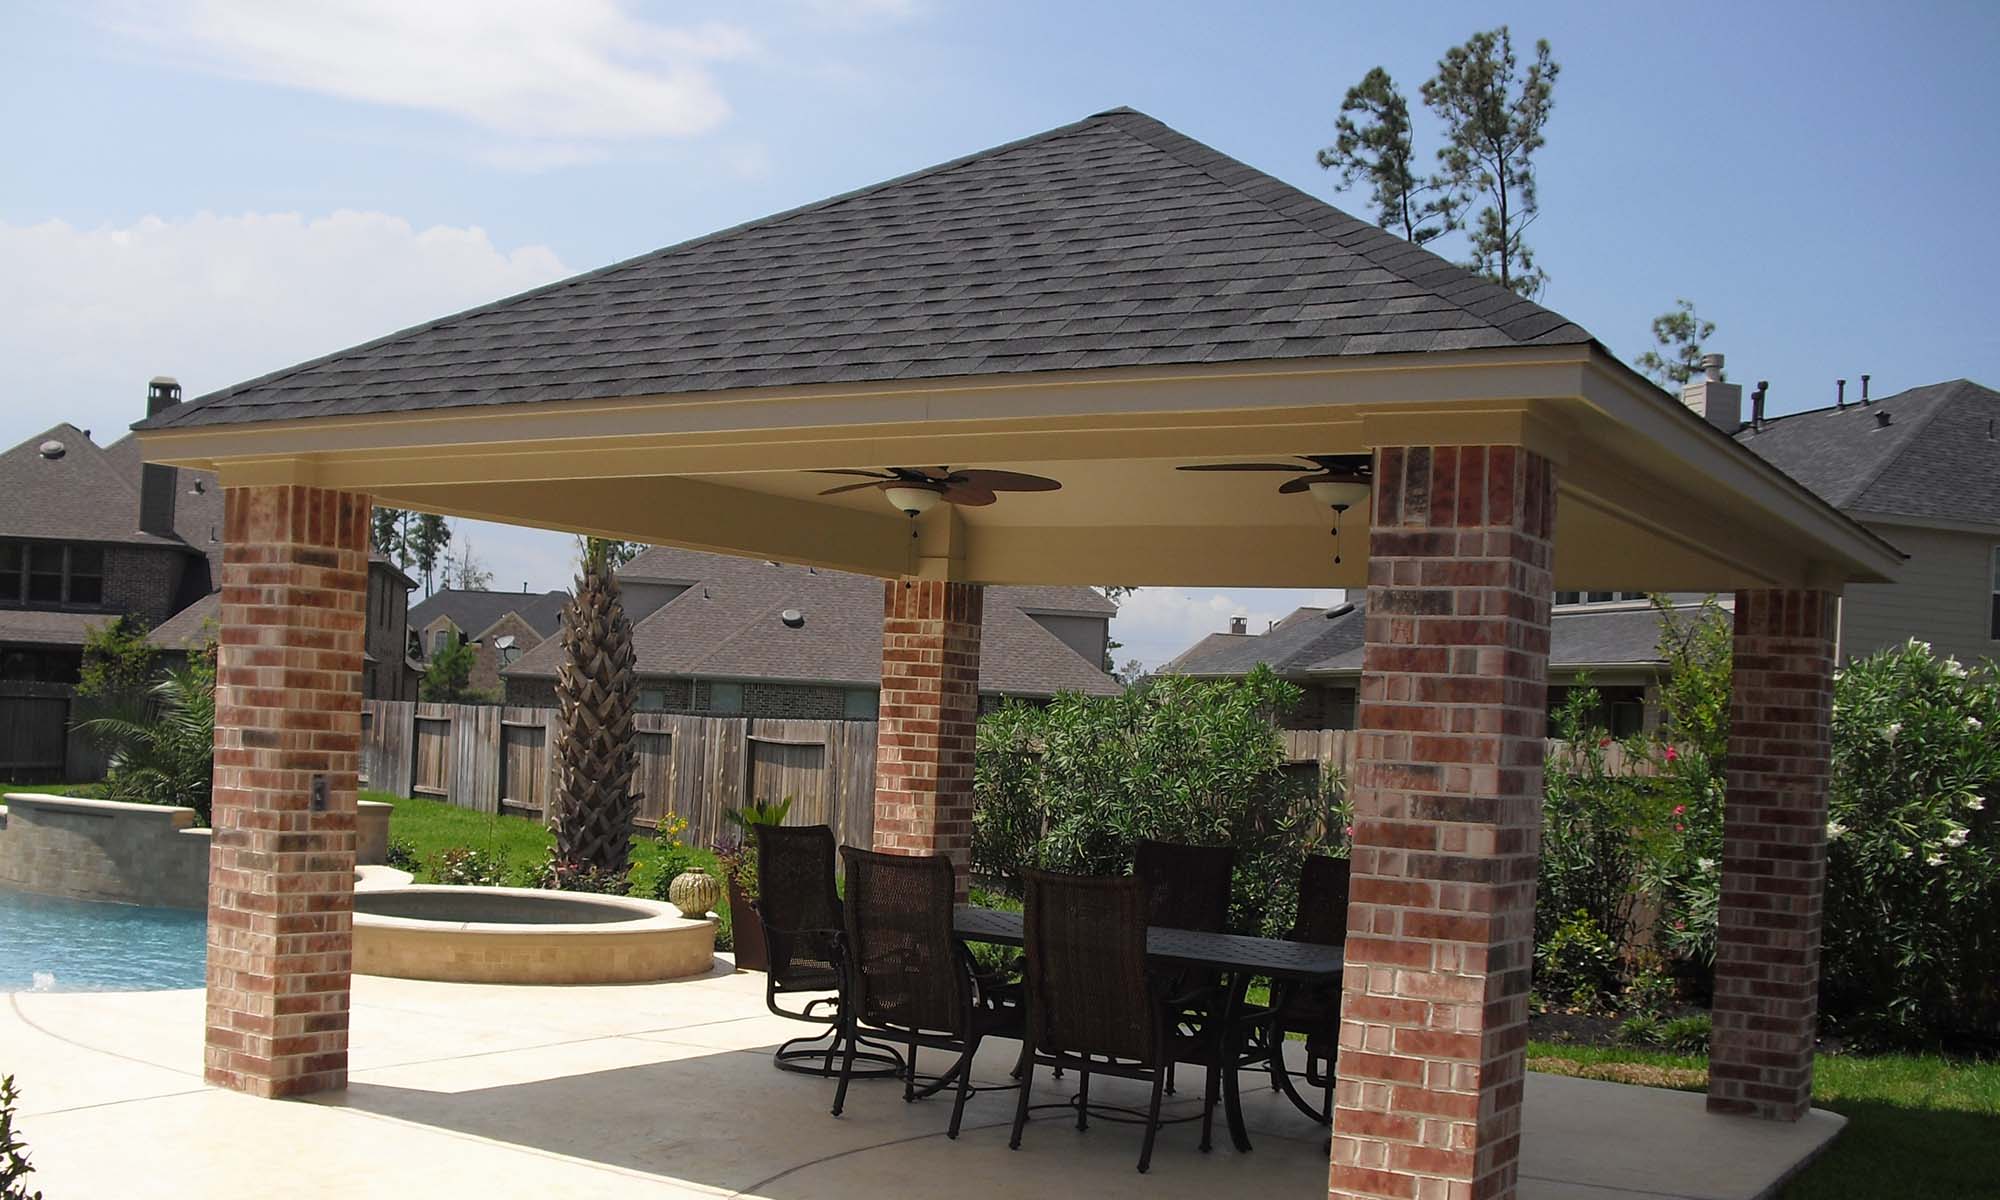
Part 2: Installing Plywood & Underlayment – DIY Gazebo Roof Installation
Now that the planning is complete, we move on to the physical installation. In this part we install the plywood sheeting, underlayment, metal drip edge, and starter course.
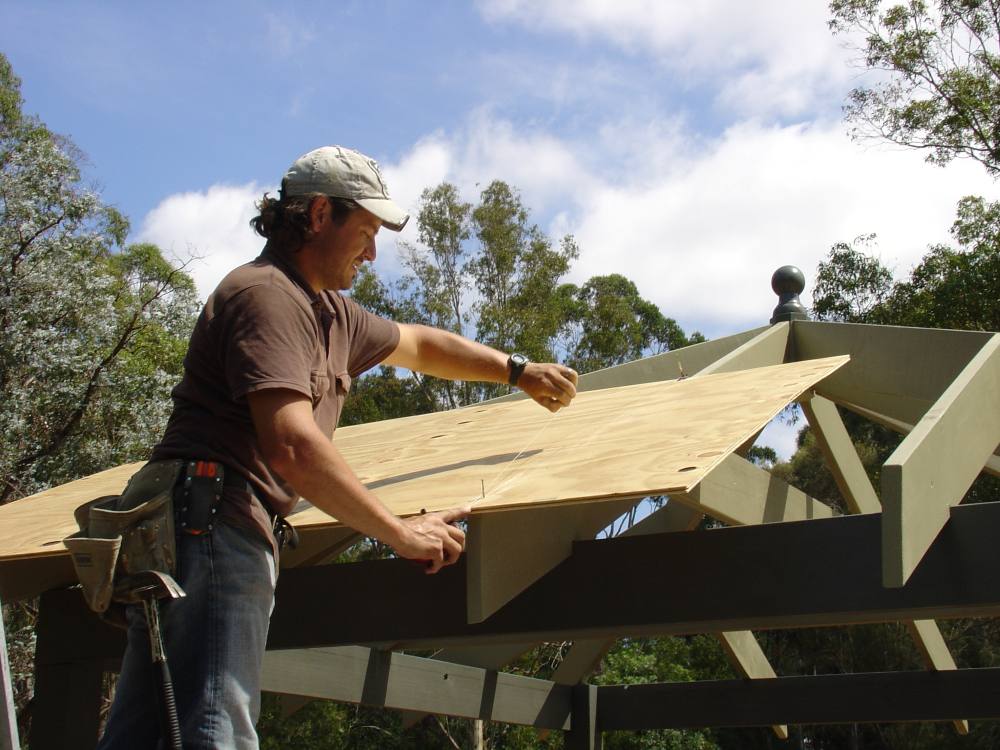
Installing the Plywood Sheeting
Use standard framing nails (75mm long shank) and nail the plywood at 150mm centres along the edges and 300mm centres in the field.
Storm Nailing Tip: In high wind areas or roofs over 8 metres high, nail the entire sheet every 150mm.
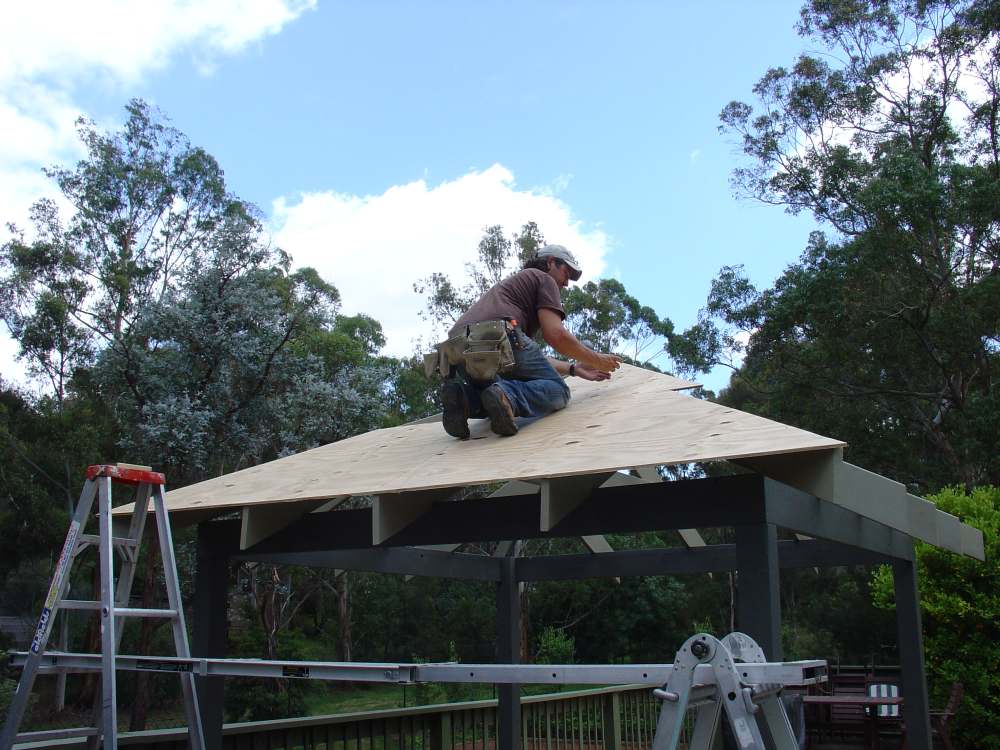
Plywood Placement
Leave a 2–3mm gap on the short ends of the plywood to allow for expansion, but butt the tongue and groove ends tightly together.
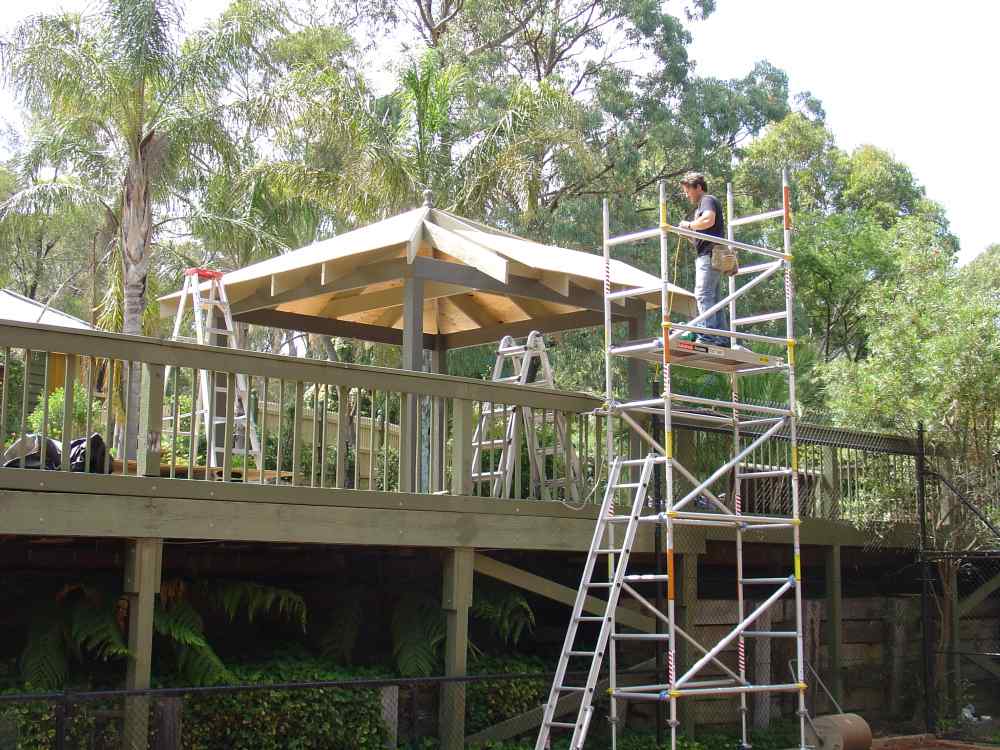
Safety Note – Working at Heights
Working above 2 metres is considered “working at heights”. Use proper scaffolding for safety.
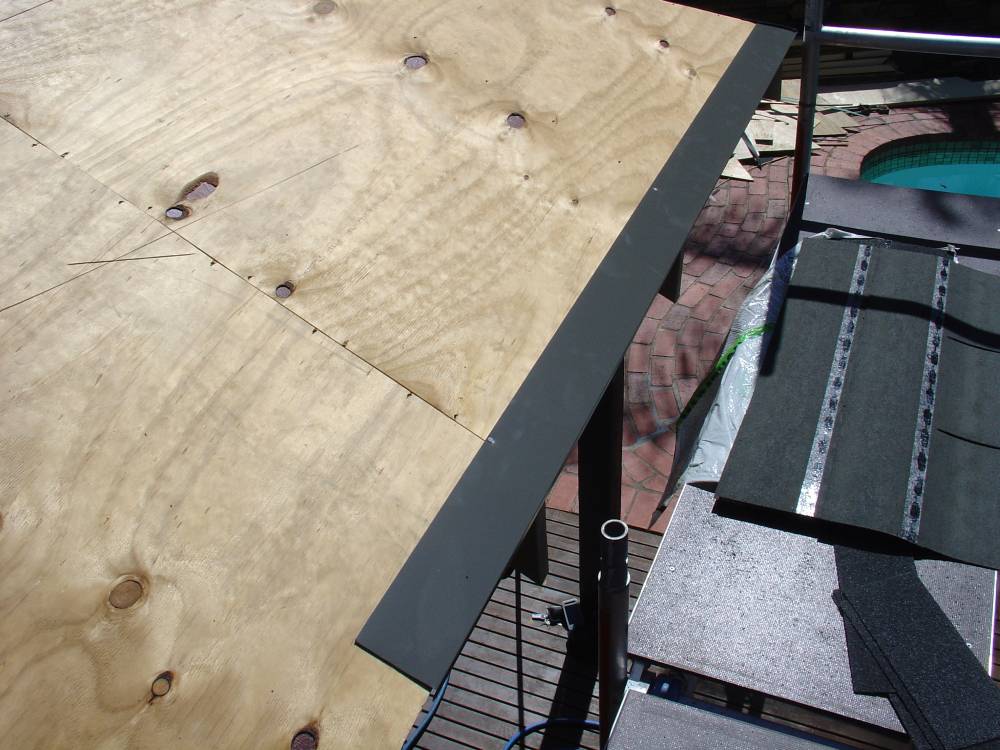
Installing the Metal Drip Edge
The drip edge protects the bottom edge of the plywood from moisture. Overlap pieces by 100mm. Never nail through two layers of metal drip edge.
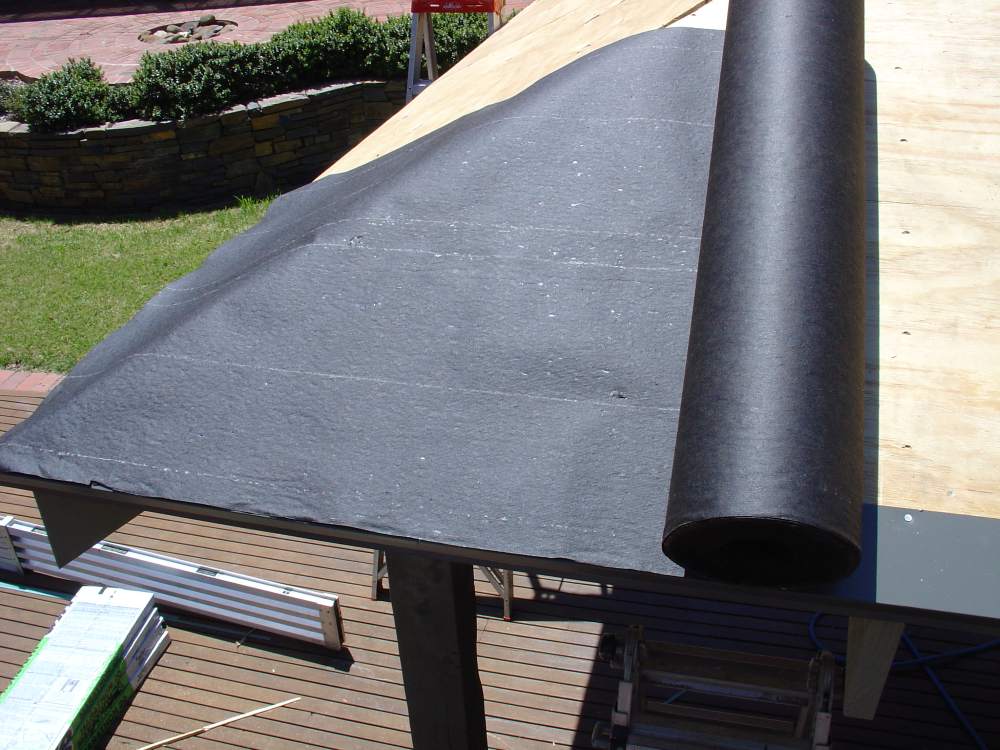
Applying Asphalt Saturated Felt Underlayment
Starting at the bottom, roll out the felt material. Overlap vertical joins by 100mm and horizontal joins by 50mm. Staple it down securely.
Next Step: Part 3 – Laying Asphalt Shingles & Flashing